From Design to Hosting - How to setup your personal Webpage or virtual Business Card
You Need:
- Design - either you code it yourself or you buy one ~ 10$ https://themeforest.net/category/site-templates?term=virtual%20business%20card
- Webhoster - This is where you upload your webpage starts at 1.99€/monthhttps://www.netcup.de/bestellen/produkt.php?produkt=2217 Get 30% Discount with my Code: 36nc16428876720
- Editor - To personalize your design, I recommend https://code.visualstudio.com/
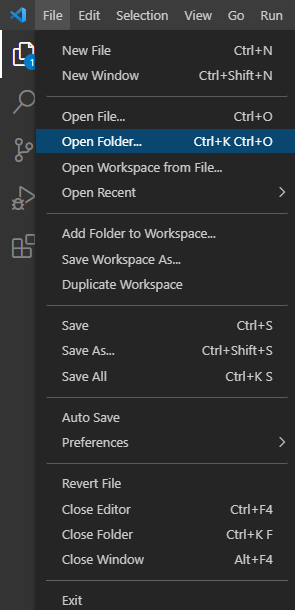
After you bought your design, you read the documentation of your design. There you find important information about where to change the color theme and how to change the pictures and fonts. Then you open the theme folder(where css, html and so is located)
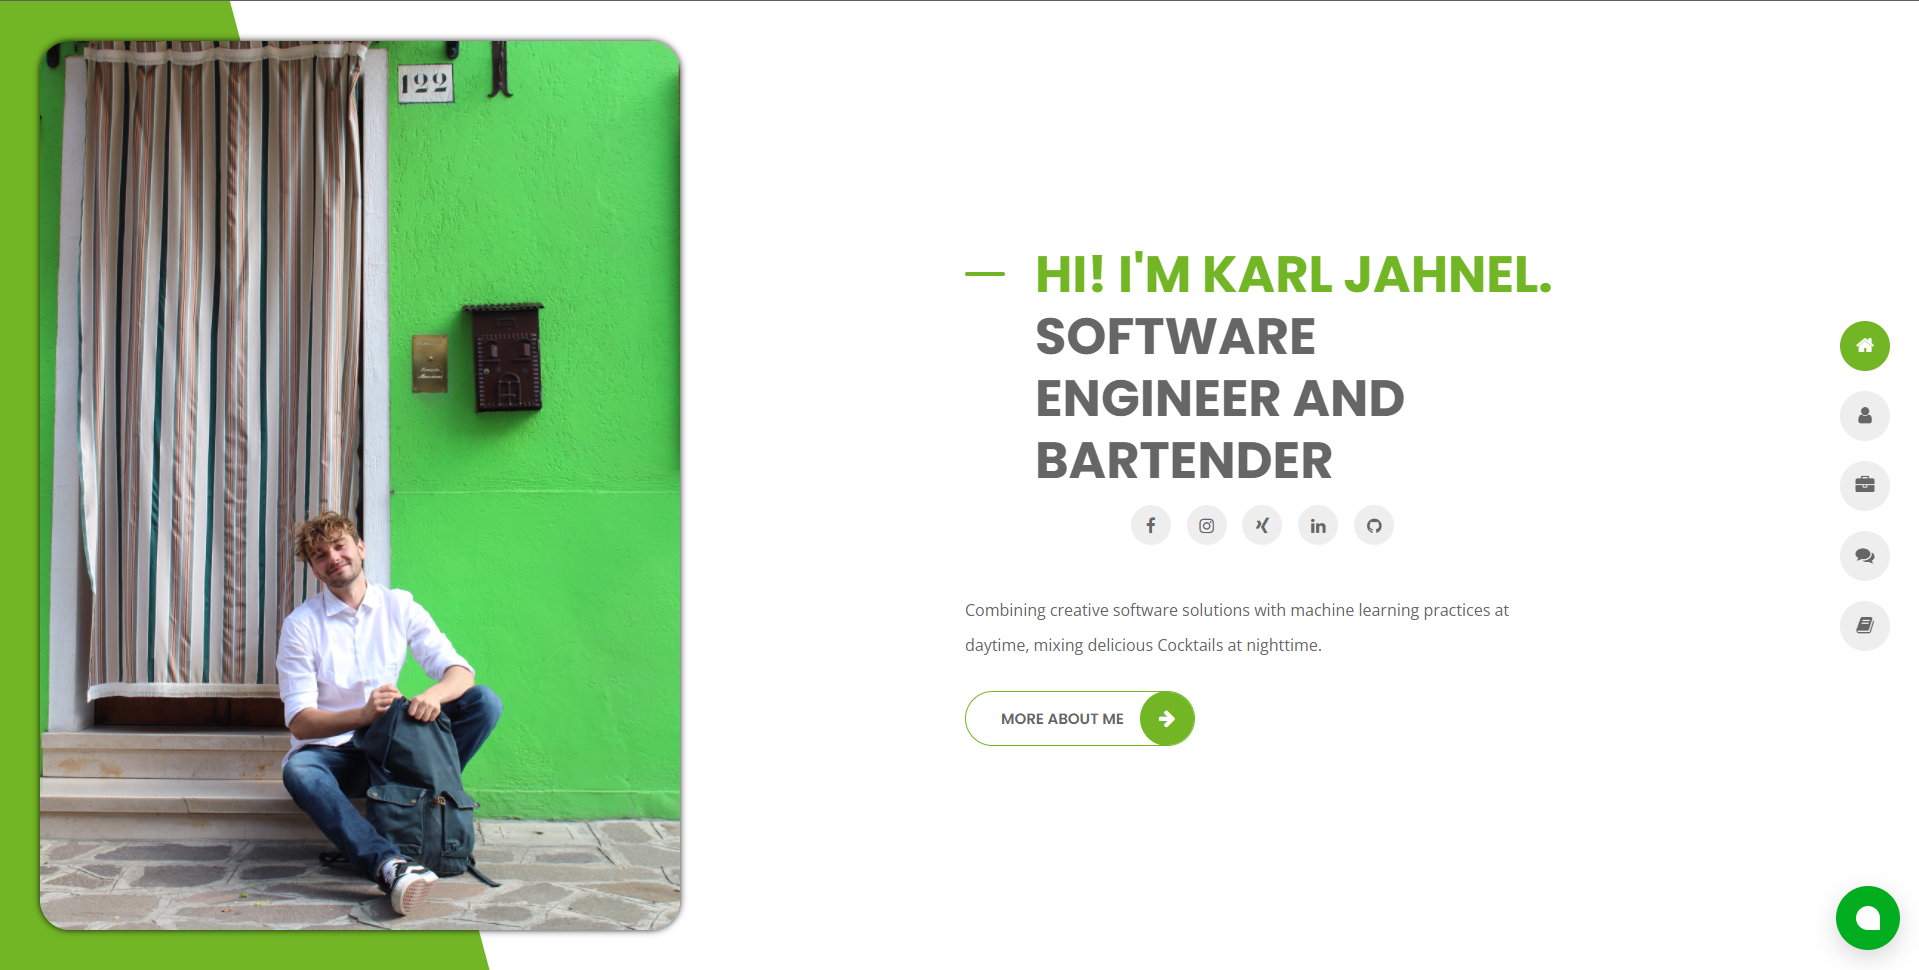
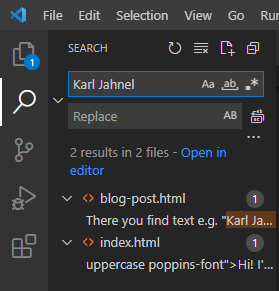
When you double click on e.g. index.html you see the landing page of your website. There you find text e.g. "Karl Jahnel" in my case This is the text you are searching for in the visual studio code editor. To fill in your text you just find the reference in the code and change it to your needs. you can do this for every text you find in the theme.
To change the pictures, you search for the reference in the code. The picture which is shown on the page is in the belonging file. e.g. in index html you have this. You need to put your picture in the folder in your theme. then you just change the path which is under src="yourpath"

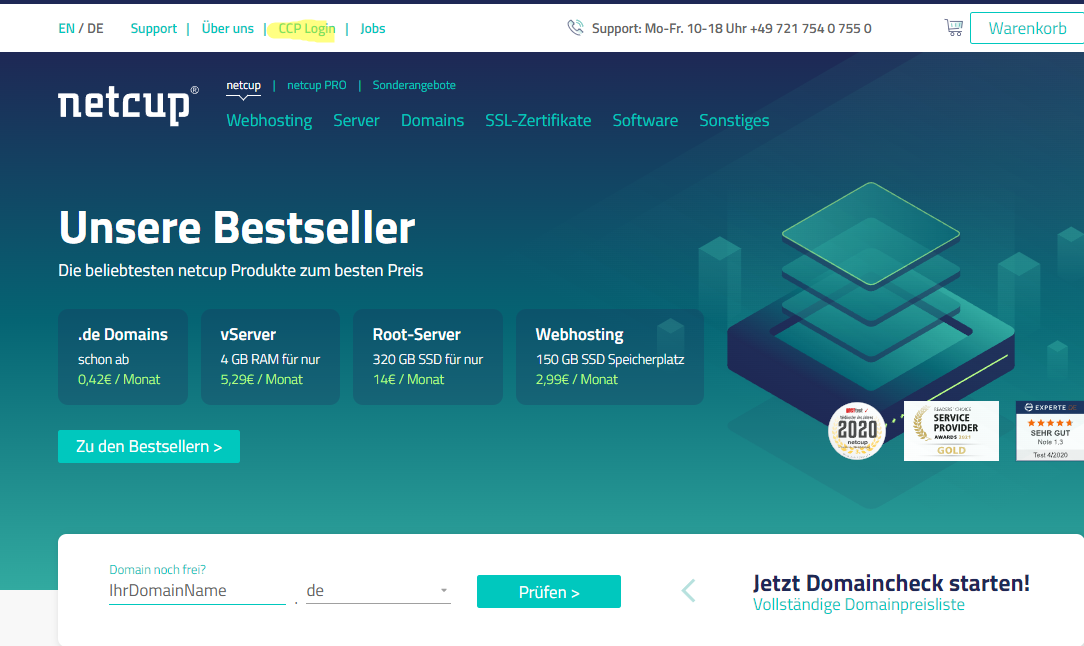
After you filled in all your information you are ready to upload your website. To do so, you need an account at a webhosting service. I am using netcup. You can use my code to get 5€ free at registration: 36nc16428876720 (If its not valid mail me) and if you are buying Webhosting 2000 you can get 30% discount with 36nc16428876720 . You will get an email after your registration and after you bouhgt your domains. It takes around 10 min till you get your mail. then you log in under
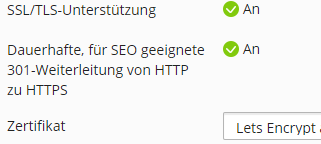
I recommend to make your website https (activating ssl certificate) first. You can do this under Products -> scroll down and go to webhosting -> domains (now click on your domain) -> Lets Encrypt -> confirm creation (hit checkbox). Then you need to set up the redirection. To do so go on domains -> on tab hosting on your domain -> hosting einstellungen check encrypt checkbox
Now you are ready to upload your complete theme folder, where you took your changes. you go to domains -> data manager ->hit the + and upload your folder

Now your webpage is online and encrypted! congratulations! To find it on google, you need to setup google search console https://search.google.com/ there you type in your domain name. you get a txt entry. You need to go back to your customer control panel https://www.customercontrolpanel.de/domains.php -> you go to dns and you add the dns entry as following

Now your website is registred at google. You now just need to wait until its activated. If it doesnt show up, you go baack to google search console and you type in your domain, then click on get indexing. Then you wait. It takes around 2-3 days.